Shopping Cart
Total:
$0.00
A signature look for a woman on the go who wants to feel polished, blowouts can last up to 3-5 days when done at a salon. However, with an active lifestyle it can be difficult to squeeze in some time in the salon chair. Not to mention the cost and time required.
So we wanted to let you in on a little secret. We can show you that it is possible to get a glamorous salon blowout at home with a few simple steps.

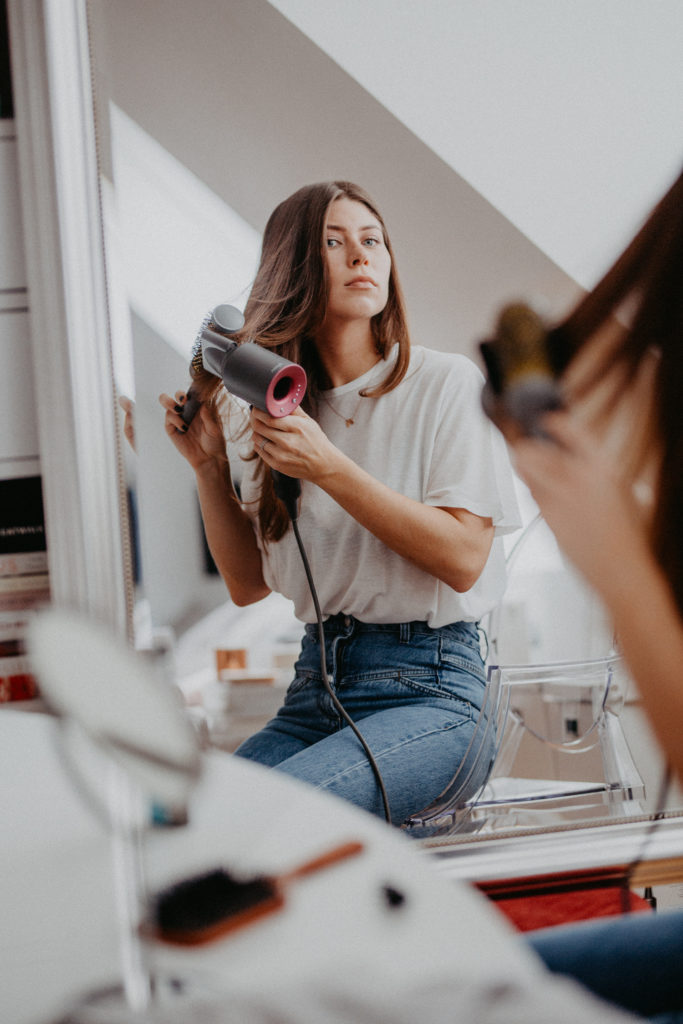
Source: Amazon
As with everything else, having the right tools can save you time and frustration. A good blowout starts with the right blowdryer. You don't need an expensive one, but one with a nozzle (as pictured above) helps concentrate the air to blow your cuticle closed when styling hair.
Tools for a blowout:
To get a great blowout, you need to start with a good hair wash. Just as you would at the salon make sure you shampoo and condition your hair with the right shampoo for your hair goals. Having colour treated hair, damaged hair, fine hair, or dry hair will require you to pay special attention to how you clean your hair and scalp. This step is a critical foundation to making sure your hair is protected when styling.
We recommend our signature NIUCOCO Shampoo and Conditioner because they’re formulated with extra-virgin coconut oil which is a natural heat protectant. Our shampoo and conditioner also help reverse the signs of damage. NIUCOCO also boosts shine, while taming frizz and helps keep hair from breaking.
When you’ve washed, be sure to dry hair while keeping it slightly damp as dry hair does not blow out properly.
Adding a smoothing product such as a serum, heat protector, or smoothing cream is essential to keeping hair safe and silky during the blowout. When hair is wet it is sensitive to breakage, coconut oil is naturally able to protect against breakage especially from exposure to water and heat.
The NIUCOCO renewing serum is the perfect base for your hair care regimen. Just as with skincare, we need to regularly nourish the skin with serums to get the benefits of active ingredients that can improve the texture and vitality of the skin. NIUCOCO’s renewing hair serum adds shine, strengthens hair, and reduces frizz.
Just apply your product while hair is damp, run it through the middle and tips of your hair ends and brush it through.

Source: Hairfinder
This step is critical to keeping a good system going when blow drying your hair. No one likes hair blowing all over the place getting tangled up in your brush. So pre-styling, makes you use your clips and hair ties to section your hair out.
We recommend keeping a mohawk in the middle to keep your front section separate (that’s the one section you want to lift and make as glam as possible with your blowout). When you have sectioned your hair out, keep in mind that you want access to the back of your hair as that is the best place to start (as it is most difficult to reach).
Source: Bikinis & Passports
Now starting from the back of your head, grabbing small sections of hair and using the round brush to blow down. When you wrap your hair around the brush while blow-drying out, make sure you coil the hair around the brush away from your face.
This part is important, before you release the hair section through the brush, wrap it again around the brush and concentrate the airflow on the lower strands of hair now coiled around the brush. Pull and release a smooth curl. Make sure to shape your curls to go away from the face as this is what creates the flattering blowout technique.
Remember your mohawk section? Build up the most volume here for the most glam effect blowout.